Crafty-Kraft Creamy Baked Mac n’ Cheese


I have had it in my head for a while now that I wanted some of the homestyle creamy baked mac n’ cheese. Inspiration hit with the snow coming down today, wanting some comfort food, so I just did it. I had been wondering if you could use a box of Kraft as the start to “good” mac & cheese, too. I had some stuff in the ‘fridge & pantry to make it happen. Posting it here to remember what I did.

I didn’t really measure, but this is close…

Ingredients:

  • 2 boxes Kraft mac & cheese (noodles & powder packets)
  • ½ cup butter & ¼ cup butter (for later)
  • ½ cup flour
  • 1 block sharp cheddar cheese (16 oz.?), grated
  • 4 cubed chunks (approx. 1″ cubes) of Velveeta (I used the Aldi version)
  • 1 cup shredded colby jack cheese
  • 2½ cups 2% milk
  • ½ cup half & half
  • ¾ cup panko breadcrumbs
  • ¾ plain breadcrumbs
  • yellow mustard (a dash)
  • ground mustard (to taste)
  • black pepper (to taste)
  • white pepper (to taste)
  • salt (to taste)
  • onion powder (to taste)
  • garlic powder (to taste)
  • table blend salt-free seasoning (to taste)

Method:

  1. Preheat the oven to 350° F.
  2. Boil the pasta in some water with bit of salt, for about 5 minutes… the time on the box overcooks them.
  3. Melt ½ cup butter in a cause pan on medium, stir in the flour (season it here), cook 2 or 3 min. until golden.
  4. Slowly stir in milk & half & half. (Season it here too.)
  5. Slowly stir in the grated sharp cheddar & chunks of Velveeta. I put the squirt of mustard in here. (Season it here too.)
  6. Slowly stir in one of the cheese powder packets from the Kraft box. (Season it here too.)
  7. Drain the pasta when it’s done while you’re doing all that, then put it in an 8″x8″ glass baking dish.
  8. Stir in your cheese sauce. (If I understand correctly, that was a roux, then a béchamel, then a mornay… right?) Season it again if you nasty, and you’re reading this, so I know you are.
  9. Melt the ¼ cup of butter in a small bowl with a handle. (Season it here too.)
  10. Stir the breadcrumbs, the other Kraft cheese packet, & the table blend seasoning into the butter bowl.
  11. Sprinkle the shredded colby jack on top of the cheese n’ macaroni.
  12. Spread the buttery cheesy breadcrumbs on that.
  13. Pop it in the oven for like 18 minutes.

Notes:

  • I popped it in for 20 minutes, and while the breadcrumbs got a little overdone, they weren’t quite burnt. I may cover it in foil for a bit next time, or put the breadcrumbs on after a bit of cooking?
  • I’ll use a bullion cube in with the macaroni next time. I do that with pasta a lot but was worried the Kraft cheese packets may be salty, they weren’t as bas as I expected.
  • I needed some grated parmesan shake cheese, but didn’t use any because I couldn’t find it. Ha ha.
  • What about crushed Cheeze-Its instead of breadcrumbs? What about bacon pieces in there?

Have you done this? Obviously I could just use regular pasta & forgo the Kraft powdered cheese sauce concoction. Got any tips or tricks? If you say nutmeg or cinnamon you can see yourself all the way out.

Share your thoughts in the comments!

The Meatball Club


So, yesterday I made spaghetti with homemade meatballs. Today, I wanted a meatball sub. I was thinking I still had some good buns from New Year’s day. They were not good. I had already melted the butter. The store-brand white bread was calling to me. A sandwich? No, a club.., Something worthy of shenanigans.

The Meatball Club:  A double-decker meatball sandwich on toasted white bread, teeming with tasty sauce & melted Gruyere and Swiss cheese.
Behold: The Meatball Club

It seemed to be a hit on various social media platforms, so I thought I’d share the love. If you make one, please, post the photo, tag me (@AiXelsyD13 on just about everything), and let me know how it was!

The Meatballs:

I have shared my meatball ingredient secrets a quadruple of times:

I generally don’t measure, and make them different every time. This time I fried them on medium-high in a large pan on the stove & a tiny bit of EVOO.

The Sauce:

OK, gonna level with you. I am not Italian. This is going to make some people mad. I use jarred sauce. This was the cheap Aldi stuff. Usually we get that or the Prego Three Cheese. I add brown sugar & Parmesan/Romano shake cheese. Sometimes, I even add shopped garlic, onion powder, or “Italian Seasoning.” This time it was just brown sugar and cheese. I don’t measure. I toss a little in with abandon. I like the sweetness & it cuts the acid.

The Club:

Get your stuff…

  • ¼ stick butter
  • Garlic powder
  • Onion powder
  • Parsley or (Italian Seasoning)
  • 6 or so leftover meatballs.
  • Shredded cheese (I had Gruyere & Swiss, but I would probably go for Mozzarella or Provolone, but the stuff I had was fantastic.)
  • “Shake Cheese” I had the cheap Giant Eagle brand Parmesan/Romano blend.
  • Three pieces of white bread.

Do it…

  1. Pre-heat the oven to 390° on the air fryer setting.
  2. Melt the butter w/ garlic powder, onion powder, & parsley to taste in a microwave save bowl in 30 second intervals, stirring in between until it’s a liquid.
  3. Put the bread on a baking dish, brush on the melted butter after a good stir. (I just did the top sides.)
  4. Air fry for 2 minutes, & it gets almost crispy on top, the bottom was nice and toasted.
  5. While you’re doing that nuke the meatballs & sauce on a microwave safe plate for 2 min. (or longer if needed.)
  6. Pull the toast out. (I cut the meatballs in half with a spoon then scooped them and the sauce on to two of the slices of bread.)
  7. Top the meatballs with the shredded cheese.
  8. Put the “shake cheese” on the 3rd slice of bread.
  9. Put it back in on air fry for for 4 or 5 minutes.
  10. Pull it out, assemble it like a tower of gluttony, then slice it diagonally with a giant serrated bread knife for dramatic effect.
  11. Take a photo to share & make people hungry.

That’s it. It took a little bit of time & prep, but it was worth it.

Notes:

  • If you cook & have your own meatball or sauce recipe, of course do that.
  • Use whatever kind of cheese you want, shredded, or sliced, or whatever.
  • I would guess you can use the oven on 375°-ish on a regular setting for a bit longer times, or a counter top air fryer.
  • You could also probably do all of it in the air fryer from cooking the meatballs to melting the butter if you have the appropriate vessels.
  • If you slice it in rectangles and not triangles, you are a psychopath.

Discussion:

  • If you’re out of sausage or sub buns, or hot dog buns, what are you using? Pita? Tortilla? Soft Pretzel? Dinner Rolls? Bisquick? Crescent roll dough?
  • Please, tell me in the comments how wrong it is to use jarred sauce or add brown sugar.
  • Share with me your meatball secrets.
  • Do you like the powdery shake cheese or the fancy stuff?
  • Do you make a forbidden sandwich? What is it?
  • Is this a Meatball Club, or a Meatball Melt?

This is why I had leftover meatballs:

Thanksgiving Dinner! – The Recipes.


I love to put together a holiday meal, especially thanksgiving. I have it down pretty good to corral the chaos.

First prepping the turkey & stuffing…

I do the bird in the electric roaster, stuffed, for 15-ish minutes per lb. @ 325° Farenheit. I roasted in the preheated pan on full for about 45 minutes at the start before turning it down. I inject the turkey in a few sports with a mixture of melted beer, butter, & spices. I usually rub some softened butter on top and toss on lots of seasoning there too. I usually pour a bottle of beer and a box of turkey broth in the bottom, & include some carrots, celery, & an onion.

Don’t worry about samonella with a stuffed bird. Take it to 165°. Always use a food thermometer. Some of the dark meat of the turkey will be overcooked but it will still be juicy & delicious. I haven’t killed anyone with my turkey yet.

The extra stuffing can be made into stuffing balls, but I put it in the crock pot. You just have to stir it, & maybe add extra turkey or chicken broth if needed or it will stick to the sides a lil’ burnt.

Do the math, & time it so you’re pulling the turkey out about a half an hour before you want to serve it.

Then I make the sides. Check out my recipes!

I cut up the butternut squash first, & put it in the fridge for when I needed it.

I peeled & quartered the potatoes, let them sit in cold water (& turkey broth).

Cut up & prep the brussels sprouts & carrots, you want to pop them in about 45 min before you plan to eat.

Prep the squash & put it in right after the brussels sprouts.

Turn on the potatoes, by the time they cook & you do your thing… it the other stuff should be ready to go.

Others brought even more sides… cranberry sauce, green bean casserole, sweet potatoes, deviled eggs, & rolls!

If I make green bean casserole, I pretty much use the Campbell’s recipe or French’s Fried Onions recipe… sometimes with an added can of mushrooms, fresh green beans, & maybe even some bacon pieces or ham.

If I cook with beer it’s either Yuengling Traditional Lager or Straub Amber.

For the gravy, I just use pan drippings broth from the turkey, and eyeball together a slurry of corn starch, add it, & some more spices if needed.

Someday I am going to brine a turkey with a buttermilk brine & cook it on the smoker, but… not for Thanksgiving. Well, not the first time anyway.

I like to keep the oven open for sides, & any brought sides or pies that may need warmed up.

Thanksgiving Sides!  Brussels Sprouts & Rainbow Carrots, Butternut Squash, Mashed Yukon Gold Potatoes, & Stuffing!
Thanksgiving Sides! Brussels Sprouts & Rainbow Carrots, Butternut Squash, Mashed Yukon Gold Potatoes, & Stuffing!

What are your Thanksgiving or other holiday meal prep tips, go-to’s, methods, or favorite recipes?

🦃 Don’t forget these free Thanksgiving Mazes! 🦃

A CONTEST FOR YOU! Gimme a recipe, win some Bronco Berry Sauce.


240 Packs of Bronco Berry Sauce!

Want 13 of these?

OK.  If you’ve been reading my blog, you know that I have an entire  case (& a little more) of Arby’s delicious Bronco Berry Sauce just taking up space in my dining room.  I would eat it all if I could, but it’s probably not an achievable (or wise) goal.  Sadly, my Bronco Berry Sauce will have to go without its perfect partner Arby’s delicious Jalapeño Bites… as they have not yet returned to the menu here in Pittsburgh.  Perhaps there is still reason to Occupy Arby’s even if Hala asked me nicely not to?

I’m left with a few tasks… figuring out what to do with the sauce besides dunking Tyson’s chicken tenders in it, and trying to pawn some off on friends, family, and maybe even a busker.  It expires in June, and I’d hate for any (more) to go to waste.

I was thinking it may make an excellent glaze for meatloaf, or even as an internal ingredient.  It would also probably be good as a glaze on grilled or baked chicken, but I’m guessing the high sugar content would make it blacken quite quickly.  I wonder if it will freeze?  A Bronco Berry Popsicle could be either incredible or disastrous.  Would there be a way to work it into an icing (or again as an ingredient) in a chocolate cupcake?

My readers and commenters are obviously the most enlightened and intelligent group of people I know, so I’m turning to you for ideas.

I promise to wrap it better than my last gift from Arby's if I need to mail it to you.

I promise to wrap it better than my last gift from Arby's if I need to mail it to you.

Here’s where the contest comes in.  Give me your recipe for something including Arby’s Bronco Berry Sauce as an ingredient.  You may want to familiarize yourself with it if you’ve never tried it.  The name is misleading, it contains no berries or horses.  It’s sweet, it’s spicy, it’s awesome.  This will be like Chopped or Iron Chef, except instead of TV fame and butt-loads of money the prize is… Let’s say 13 packs of Bronco Berry Sauce, because I like the number 13.  Also, I’m not Alton Brown or Ted Allen.  If it’s really good, we’ll maybe eventually have to make copycat recipes to continue making the prize winner.

You have until Friday May 4th to get your recipes to me.  I’ll post them in a blog, put up a poll, and have the readers vote.  We’ll close the poll & pick a winner on May 13th.  You can enter multiple times within reason.  Voting will happen with the little poll widget here, so encourage your friends, neighbors, family, and even enemies to vote for you.

The only way to enter: You can email your fantastically delicious recipe to world.and.lunar.domination@gmail.com with the subject containing the hashtag “#Bronco13” & the name of your recipe.  We’ll annoy people with it on Twitter, Google+, Pinterest, & wherever else hashtags work.

In the event of a tie, both of you will get 13 packets of Bronco Berry Sauce.

What are you waiting for?  Get to work!

Get Stuffed.


I can’t wait to make stuffing again. It’s ridiculously tasty. I love the carb overload. Maybe I will get those goggles, and I need to pick up some Yuengling.  A week from tonight, I should be in the process of creating this awesomeness.

I’ll show you my stuffing recipe if you show me yours.

How do you do it?

Maybe this year, I’ll try to make some Potato Filling too.  There are a bunch of recipes for it out there.  Maybe stuffing balls would be good…  Now I’m hungry.

STUFFING!

STUFFING!

Yuengling Lager

Beer

Stuffing Recipe – Thanksgiving 2009


Stuffing has got to be my favorite Thanksgiving food.  I remember Thanksgivings past where my dad & I would fight over the stuffing bowl like it was filled with gold, diamonds, and (for me) guitars.  The stuff is perfect.  Alone, with turkey, with gravy… the decadent amount of carbs is ridiculously awesome.

Last year was my first ever attempt at making stuffing… and my grandma told me that it tasted just like hers.  Is there a compliment better than that?  I had used as a guide an old recipe that my grandfather & grandmother had both used when making holiday meals.  My mom lent me the old cook book with my grandfather’s notes last year, I collected some others, and I made scans for myself (Updated URL).

I say “guide” because it’s not always an exact science when doubling/tripling recipes… and there really aren’t any cooking directions… it’s just a guide to make the stuff.  Also, I tend to do a lot of “oh, that looks about right” and a little bit of “hey, let’s add a little of this” in the kitchen, as most people comfortable there usually do.

A lot of times I see stuffing recipes online, on TV, or in the little books by the cash register at the grocery store… and they include sausage, apples, raisins, (yuck!) nuts, or even peppers, carrots, or mushrooms (all of the latter of which I’ like to try some time).  The philosophy behind this recipe seems to be a K.I.S.S. one.  I like that.  It’s a very simple accompaniment, and the taste that my mind goes to every time I think “stuffing”.

This year, it was definitely a two person effort.  I don’t know how I would have done it without Bethany and all four of our hands.  We made a lot of stuffing.  Sadly, I didn’t think to chronicle the thing with photos like I sometimes do with new recipes… but I did want to make a guide with my own notes, so when I do this next year, I remember what I did differently this year.  I know I altered things slightly last year, but the details were a little fuzzy.  I figured that if I’m going to do it for myself, I might as well share, right?  Plus, we got compliments from two moms, two grandmas, and an aunt… all excellent in the kitchen themselves!

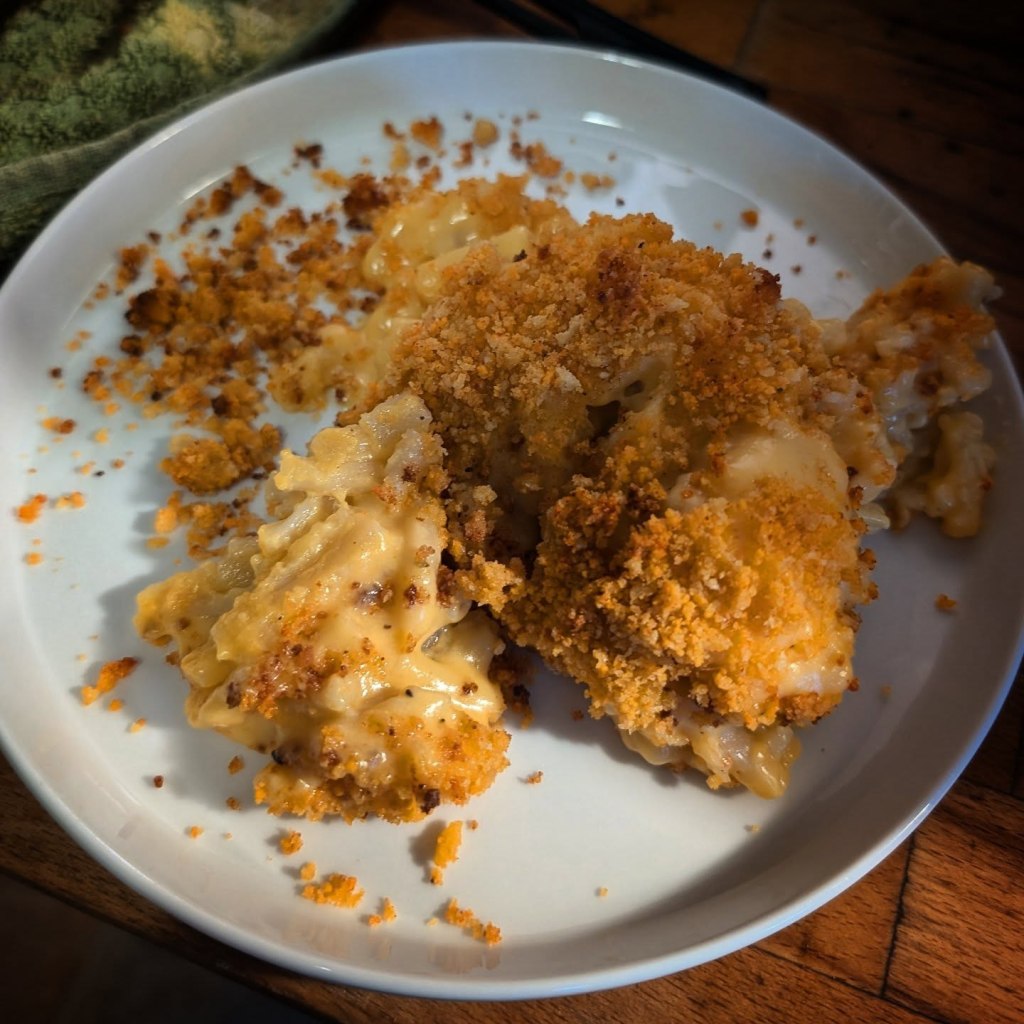
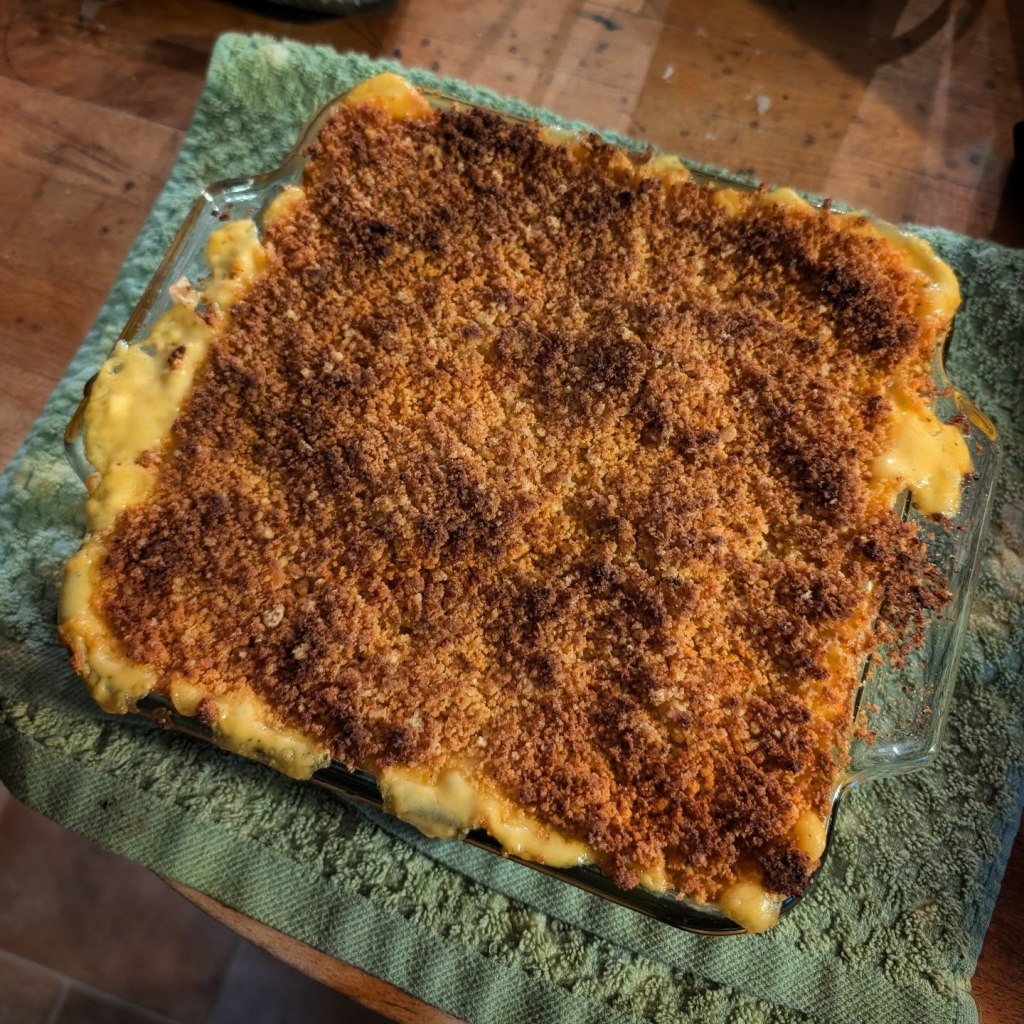
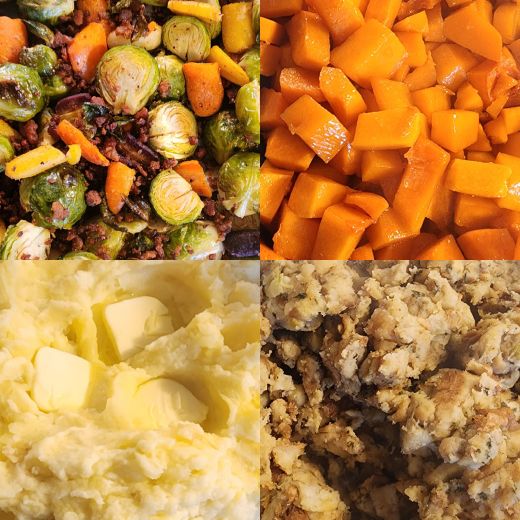
I did take a photo today, because really, what’s a food blog post without a photo?  Perhaps I’ll see if my mom got any with her camera and amend the post later.

Thanksgiving Stuffing 2009

This year’s effort was delicious, if I do say so myself.

This is my first time really writing out a recipe… so pardon me if it’s a little convoluted or long winded.  I don’t want to miss anything, and I hope to get it all in the right order as well as make it an entertaining read.

Here’s what you’ll need to do it the same way I did…

Food:

  • 5 loaves of bread (equaled 56 cups once cubed)
  • 1 bundle of celery (3 cups, chopped – the rest can cook w/ the turkey or be a snack)
  • 2 Spanish or Sweet onions
  • The giblets & neck out of your turkey.
  • 1 can (14½ oz.) vegetable broth
  • 1 tablespoons of salt
  • ½ tablesppon Season All Seasoned Salt
  • 1 heaping teaspoon coarse ground black pepper
  • 1 heaping teaspoon sage
  • 1 heaping teaspoon poultry seasoning
  • 10 eggs
  • 4 sticks (2 cups) butter
  • some water
  • 1 cup fresh parsley
  • 1 bottle of Yuengling

Stuff:

  • 2 cookie sheets
  • cutting boards
  • small pot
  • electric skillet
  • Magic Bullet®
  • electric roaster
  • large crock pot
  • knives
  • a few large bowls
  • whisk
  • spatula
  • several large spoons
  • paper towels

OK, on to the directions…

  1. Monday night, get your loaves of bread, open the bags, and put the loaves on cookie sheets before dinner.  Leave ’em out on a table or counter while you do your thing.
  2. Right before your favorite prime time TV shows come on, set up a station on the coffee table in front of the couch with the cookie trays of bread, some cutting boards with knives, and the pans out of your electric roaster.  Cube the bread and fill the roasting pan.  When I say fill it, I mean fill it.  It will be ridiculously full.
  3. Cover it with paper towels, and set it on the kitchen table that you only use when company comes over anyway.  Over the next few days, stir it a few times a day, whenever you think of it.  This will get it nicely & slightly stale.  If you’re going to be doing anything that smells, like using cleaning chemicals, put it in the oven… but don’t turn it on.  It’s nice & warm & dry & not stinky in there.  The bread will absorb that stuff and the stuffing will taste like Mr. Clean made it.
  4. Wednesday night, get out your turkey… and pull the disgusting papery bag of giblets out of the neck cavity, and the neck out of its butt.  (Why exactly do they put the neck in the butt, anyway?  Who’s idea was that?) Boil the giblets in your can of vegetable broth, or just use plain water… or even turkey or chicken broth.  I thought the vegetable broth would add a nice flavor.  I boiled them for a nice long time, and let it cook down quite a bunch.
  5. Finely chop up your celery & onions… or use the Magic Bullet, like I did.  I’m not real big on chunks of slimy or crunchy stuff in bread-like consistency foods.  I probably had half of each chopped finely, the other half rendered to near-paste by the genius little piece of equipment that list the Magic Bullet.  I’m sure any food processor would work.. but this one is easy to pot pout of storage, use, and clean when you’re done.
  6. Then I popped out the electric skillet to sauteé the onion & celery mixture… probably in some Country Crock & a bit of extra virgin olive oil… adding some of the spices mentioned above, and maybe even some paprika… although, they don’t come the totals listed above.  These are the aforementioned “oh, that looks about right” and  “hey, let’s add a little of this”.  You’ve sauteed stuff, you know how it works.  I love this step because it turns the onions from gross into awesome… especially the Spanish onions.  The sweet onions are oddly enough not as sweet to me when cooked.
  7. Next time, I’m totally getting a pair of swimming goggles or those glasses that I’ve seen at Bed, Bath & Beyond for when I chop & pulverize the onions.  I was crying like a little girl who just watched a car run over a kitten.
  8. I popped the onions and celery into separate containers for the ‘fridge to save for Thursday morning.
  9. Next, I pulled out the giblets and chopped them into tiny pieces, & put them with the reduced broth from cooking into a 3rd refrigerator bound container to be used on Thursday morning.
  10. Go to bed.  You have to get up early.
  11. Thursday get up about an hour before your turkey needs to go in the roaster oven, and start to mix all this crap together.
  12. Add the dry spice ingredients to the now stale-ish cubed bread.  Good luck not getting any on the floor.
  13. Chop the fresh parsley.
  14. Nuke your butter in a microwave safe bowl, add it to a large mixing bowl, crack open the 10 eggs, and whisk away.
  15. Add the fresh parsley to the buttery gooey egg mixture.
  16. Add 2-3 cups of the broth from the giblets, and the finely chopped giblets to the now even gooier butterier egg mixture.
  17. This is where I got the bright idea to dump in some Yuengling.  It wasn’t a whole bottle… but I had it out & only needed about ½ cup for my butter/garlic/beer turkey injection/baste,  so I dumped some into the gooey buttery gibletey mixture, and drank the rest… all before 8:00 am.
  18. Dump the celery & onion concoction on to the bread, mix around, and then dump on the gooey buttery gibletey Yuenglingey mixture.  This is where it was imperative that there were two of us.  Bethany opted to use her hands to mix while I poured.  The mixing gets easier when it’s wet, as it goes down a little.  You should probably wash your hands before you do this.  Not that I think you’re stupid or anything… but there are signs out there all over the place… so someone somewhere must need reminded.  Use soap, and hot water.
  19. Now, this needs to come out of the roaster so the turkey can go into it… and you should be doing this around the same time as turkey prep… so stuff what you can into the turkey carcass’ various cavities, and put the rest in the crock pot.  I had Bethany scoop it into a bowl small amounts at a time as I stuffed it into the bird, so I wasn’t touching raw poultry and the stuffing that wasn’t going into the bird.  She made it clear that she wasn’t touching the raw dead bird, or sticking her hands into it.
  20. I sewed up the turkey and popped it into the roaster to cook, and then put the stuffing in the crock pot on low to cook for the same amount of time.
  21. Everyone told me last year that stuffing + crock pot = bad idea.  This is where I say that you could not be more wrong.  It was perfectly moist and heated well throughout.  I did break the cardinal cock pot rule by removing the lid every hour or so and stirring a little so it didn’t stick to the sides or burn.  This worked well, except that I didn’t get the bottom well enough.  You could add more liquid throughout if t looked necessary… or not stir if you like the crusty part as much as the other part.  If you use the crock pot enough, you get to know what works for yours.  Pop it on to warm or off a while before you eat.
  22. When the turkey’s ready, the stuffing’s ready.  Stuff yourself silly, send people home with leftovers, and eat for breakfast, lunch, & dinner the next day.

Well, I hope you enjoyed the process, and I’m sorry for jumping tenses.  I think I did anyway.  All over the place.  Maybe Dave and Kristin can give me some pointers on that.

I’d love to know what you think of this recipe, and how you do your stuffing.  I’m always up for trying things new ways… and I’m always up for eating stuffing.  In fact, even better — make some, and invite me over for dinner!